Transfer files to and from Department Equipment
A Step-by-step guide for when you’ve finished using a department machine, such as a GelDoc and need to move your freshly acquired data to the server.
This is how you transfer your files:
On the Research Equipment Computer
Produce your data on the instrument computer.
Open Windows Explorer, open the mapped “Dept Equipment” drive on the left-hand side of the window (there is sometimes a shortcut on the desktop too).
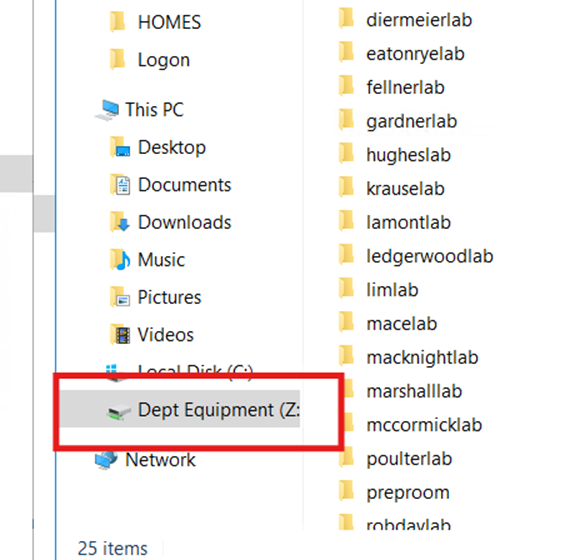
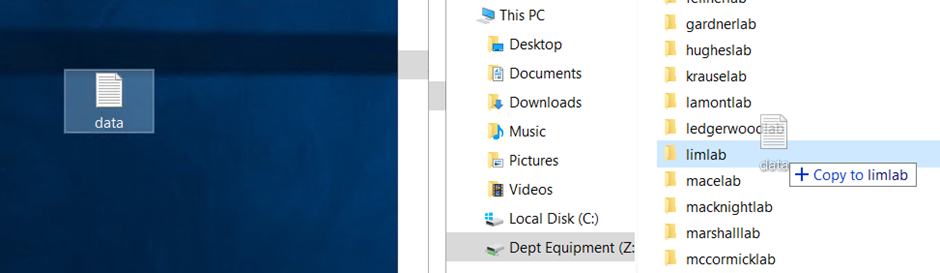
- Drag and drop your data to your lab folder
NOTE: you aren’t able to open the folders directly, you can ONLY drag/drop either files or folders into it.
THEN:
On you own Computer
Map the “rtis-research-equipment” HCS share if you haven’t already by following https://ask.otago.ac.nz/knowledgebase/article/KA-10002922 and replacing <share-name> with rtis-research-equipment
Open the newly mapped share, open the biochemistry folder, and then open your lab group’s folder.
Move out your data to its desired location (whether it be the biochemistry HCS share, your own computer etc)